
Packing dishes for a move requires special care to ensure they arrive at your new home in one piece. Since dishes are among the most fragile items in your kitchen, taking the right precautions can make all the difference between a smooth transition and a box of broken china. In this guide, we’ll walk you through some expert tips to pack your dishes for safe transport.
Step 1: Gather Your Supplies
Before you start packing, make sure you have the following materials on hand:
Packing paper or bubble wrap: These materials will provide cushioning and prevent dishes from colliding.
Strong cardboard boxes: Use medium-sized boxes specifically designed for moving dishes.
Packing tape: Ensure you have high-quality tape to securely seal the boxes.
Markers: Labeling your boxes as “Fragile” ensures careful handling.
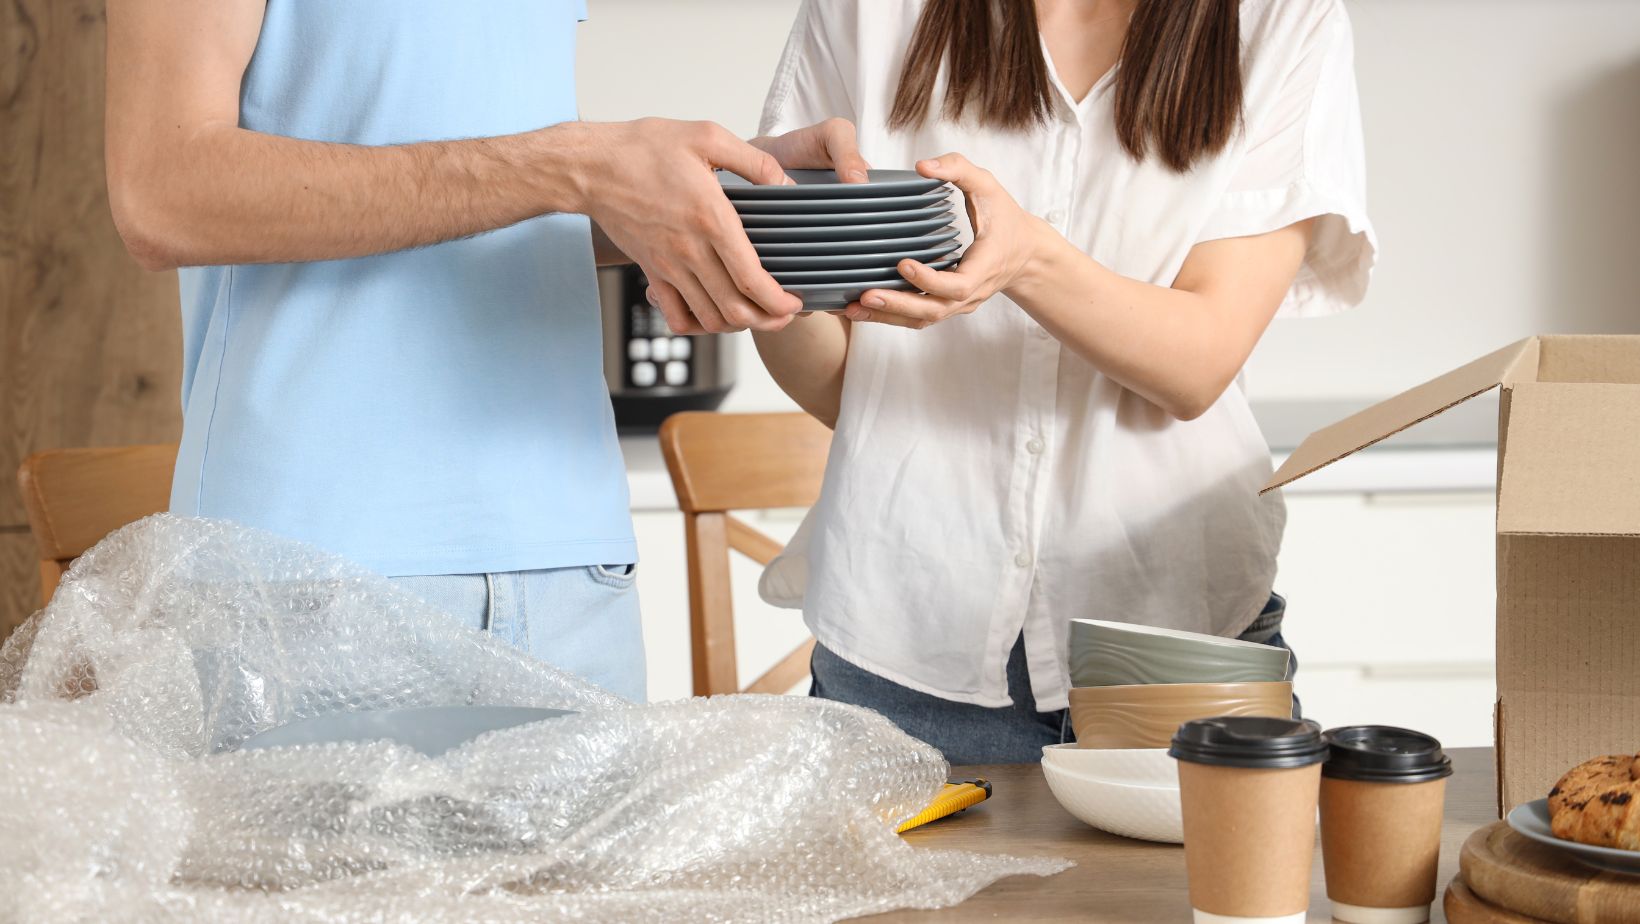
Step 2: Wrap Each Dish Individually
The first step in protecting your dishes is wrapping them individually. Use **packing paper or bubble wrap** for each dish. Lay the dish on the packing material, fold the edges over it, and roll the dish until it’s fully covered. For extra protection, add another layer of wrapping for delicate items like porcelain or fine China.
Tip: Avoid using newspaper to wrap dishes, as the ink can transfer onto the items.
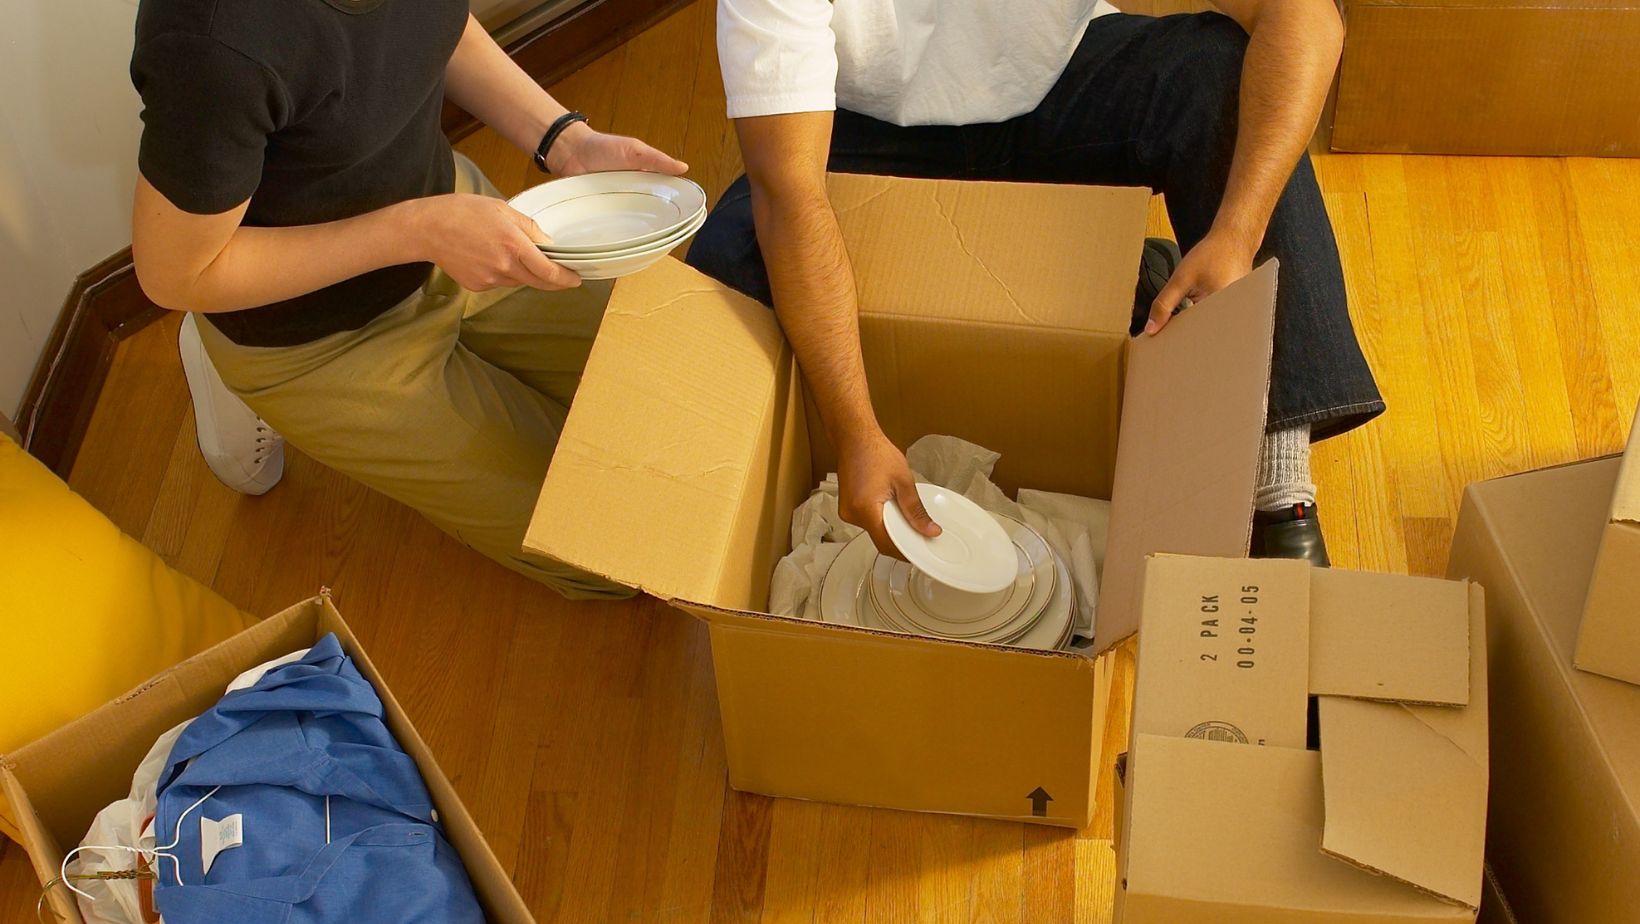
Step 3: Pad the Bottom of the Box
Before placing your wrapped dishes in the box, create a layer of cushioning on the bottom of the box. Crumpled packing paper, bubble wrap, or even soft towels can provide a good base. This padding will absorb any shock or movement during the transport.
Step 4: Pack Dishes on Their Side
One of the most important packing tips recommended by Safe Responsible Movers is to **pack dishes on their side, not flat**. Dishes are much stronger and less likely to break when stacked vertically. Think of how plates are stored in a dish rack—the same principle applies here.
Place each dish on its edge inside the box, making sure to add packing paper or bubble wrap between each dish to prevent them from touching. This layer of protection ensures that if the box shifts, your dishes won’t knock against one another.
Step 5: Fill Empty Spaces
As you pack the box, make sure to **fill any empty spaces** with crumpled packing paper or bubble wrap. You don’t want any movement inside the box during the move, as this can cause items to shift and break. Ensure the sides of the box are padded as well, particularly if the box isn’t a perfect fit for the contents.
Step 6: Seal and Label the Box
Once all your dishes are securely packed, it’s time to **seal the box with strong packing tape**.
Make sure the bottom of the box is reinforced with an extra layer of tape before you start packing, and use several strips of tape to secure the top flaps as well.
After taping the box shut, label it clearly with “Fragile” on multiple sides. Also, include “This Side Up” to indicate how the box should be carried and placed.
Step 7: Stack Carefully in the Truck
When it comes time to load your boxes into the moving truck, make sure to **stack the dish boxes securely**, ideally on top of heavier, sturdier boxes. Never place heavy items on top of your dish boxes, and make sure they’re tightly packed in the truck to prevent any shifting during transport.
By following these steps, you’ll significantly reduce the risk of damage to your dishes during your move. With the right materials, careful packing, and attention to detail, you can ensure that all your favorite plates, bowls, and glassware arrive at your new home safe and sound.